
How to Take a Screenshot with Multiple Monitors on Windows?
Capture all displays, one monitor, or one app window across a multi-monitor Windows setup without getting the wrong screen.
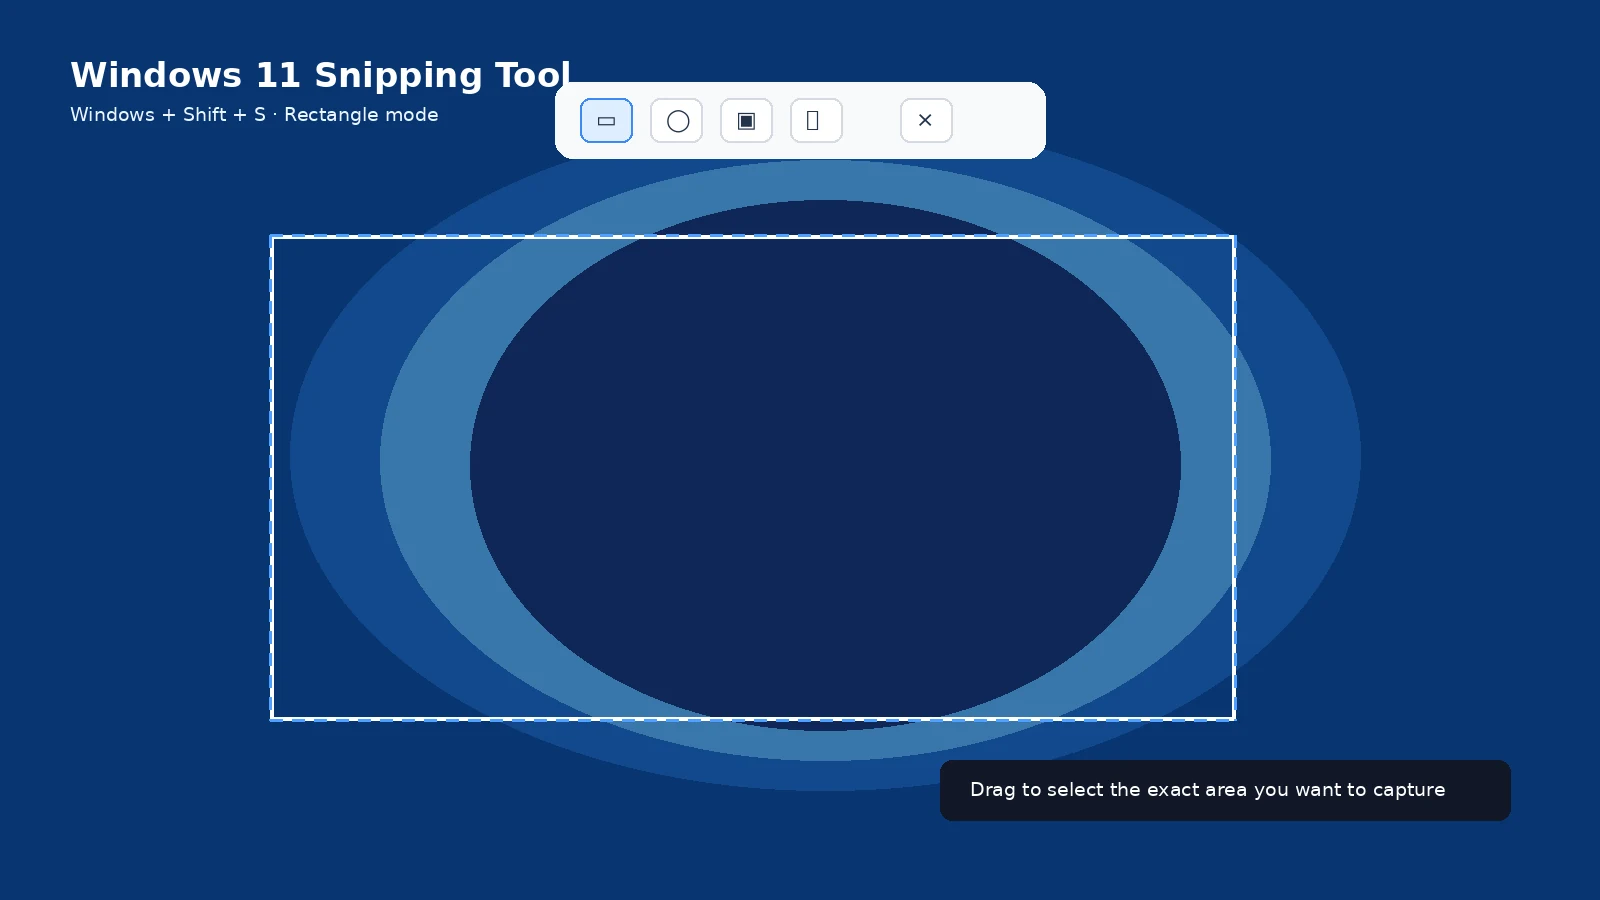
For all monitors, use PrtScn or Win + PrtScn. For one monitor, use Win + Shift + S and rectangle-select only that display.
Capture every monitor
A full desktop screenshot can include the combined virtual desktop, which may create a very wide image when monitors are side by side.
Capture one monitor only
Windows does not provide one universal dedicated keyboard shortcut for “current monitor only.” Rectangle capture is dependable and works regardless of monitor arrangement.
Capture one window
Use Alt + PrtScn or Snipping Tool Window mode. This is usually the cleanest option when the app spans only one display.
Different scaling or resolutions
Mixed DPI scaling can make the combined screenshot look uneven. That is normal because each display can use a different resolution and scale factor.
Save location
Windows + PrtScn produces a file under Pictures > Screenshots. Plain PrtScn is clipboard-first.
Documenting a setup
When troubleshooting, consider taking one full multi-monitor shot plus close-up partial captures of each important window. That preserves context without making text unreadably small.
Troubleshooting
- If a combined screenshot looks oddly sized, check each display resolution and scaling.
- If only one display is needed, do not crop a giant multi-monitor image after the fact; capture that display directly with Rectangle mode.
Frequently asked questions
Does PrtScn capture all monitors?
On common Windows setups it captures the combined desktop.
Can I automatically save only one monitor?
Use a Snipping Tool capture and save it, or a reputable capture app with monitor-specific automation.
Will different monitor resolutions matter?
Yes, the combined image reflects the actual pixel dimensions of the displays.
Can I capture a window on monitor 2?
Yes. Use Alt + PrtScn or Window mode.
Video guide
Sources and verification
Key technical details in this guide were checked against the following current documentation where applicable.