
How to Take a Screenshot on macOS 27?
Current macOS 27 screenshot guide covering Shift-Command shortcuts, Screenshot toolbar, save locations, PNG/HEIF HDR, clipboard capture, timer and window shadow control.
Press Shift + ⌘ Command + 3 for the whole screen, Shift + ⌘ Command + 4 for an area, or Shift + ⌘ Command + 5 for the Screenshot toolbar.
Full screen
Shift + Command + 3 captures the entire screen. If the floating thumbnail appears, open it for immediate editing or wait for the file to save.
Selected area
Shift + Command + 4 turns the pointer into a crosshair. Drag around the required region. Hold Space while dragging to move the current selection without changing its size, and press Escape to cancel.
Specific window or menu
Press Shift + Command + 4, then Space. The pointer becomes a camera; click the window or menu. Hold Option while clicking when you want to exclude the normal window shadow.
Screenshot toolbar
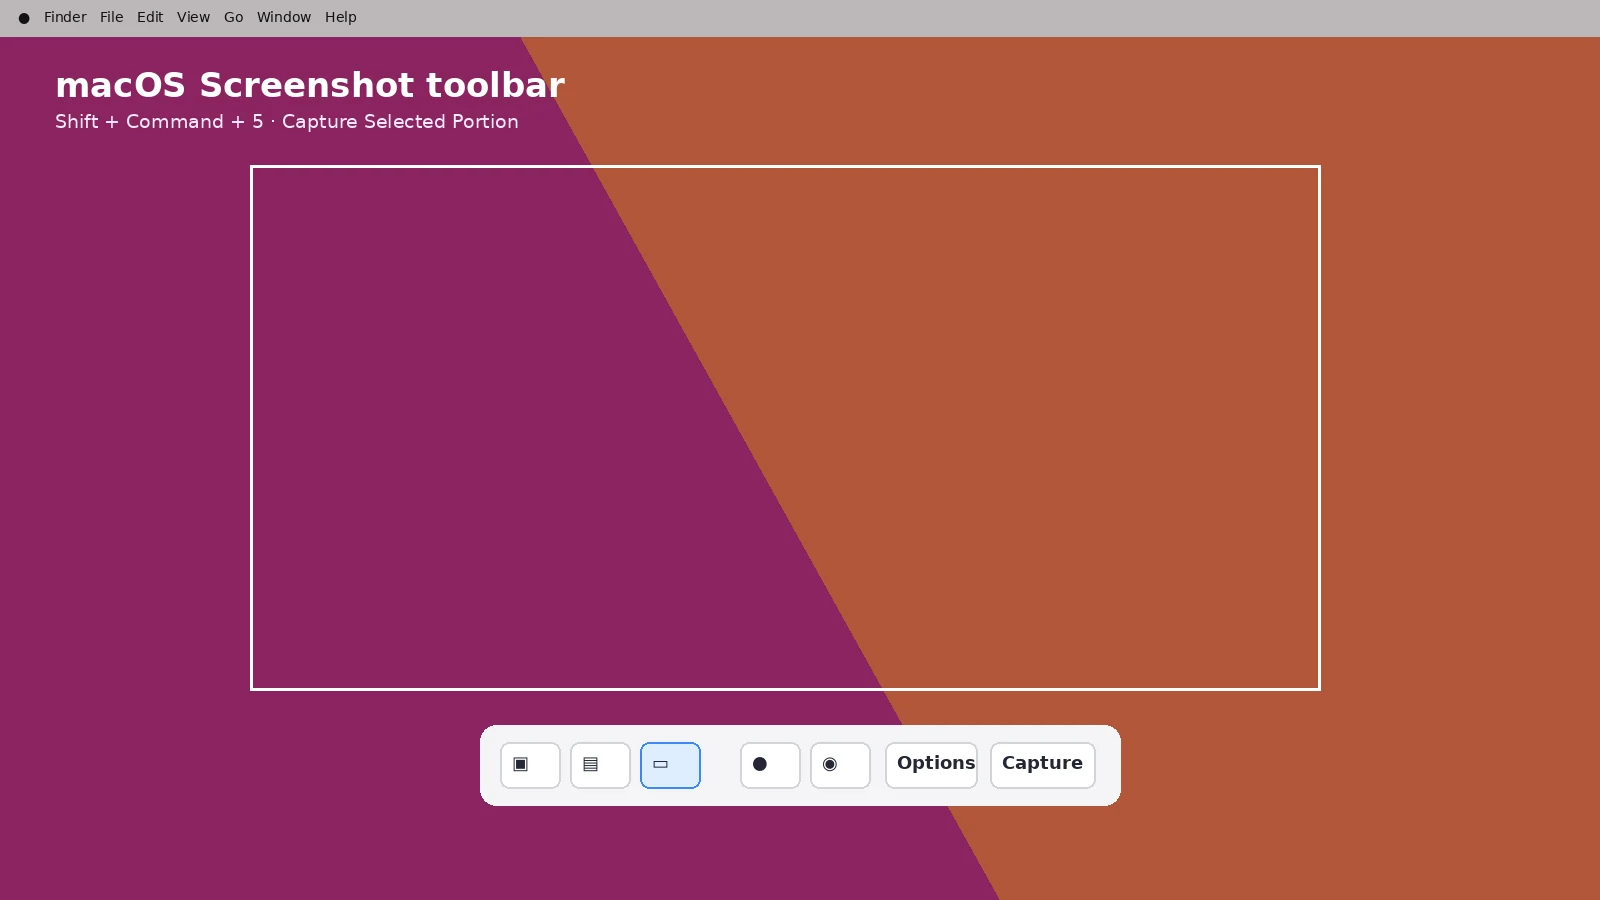
Shift + Command + 5 opens the Screenshot app with full-screen, window and selected-portion still capture, plus screen-recording controls. Options can set a timer, change the save destination, show/hide the floating thumbnail and control pointer visibility.
Save location
Mac screenshots save to the Desktop by default with a date/time filename. Change the destination from Shift + Command + 5 > Options. You can also drag the floating thumbnail to another location before the automatic save completes.
Copy to clipboard instead
Add Control to the normal shortcut. For example, Control + Shift + Command + 3 copies the full-screen capture. You can also Control-click the floating thumbnail and choose Save to Clipboard.
PNG and HDR HEIF
Apple documents standard SDR screenshots as PNG. On supported Macs using macOS Tahoe 26 or later, the Screenshot app can offer HDR capture using HEIF. Choose SDR when cross-platform compatibility is more important than HDR range.
What can block capture?
Some apps, including protected video, can prevent screenshots of their windows. This is intentional app behavior. Use the application’s legitimate sharing/export options instead of trying to bypass capture restrictions.
Video guide
Sources and verification
Key technical details in this guide were checked against the following current documentation where applicable.